Step 1: Your property
Three questions, and one of them is a map. This step is what turns a generic solar calculator into one that is looking at your actual house.
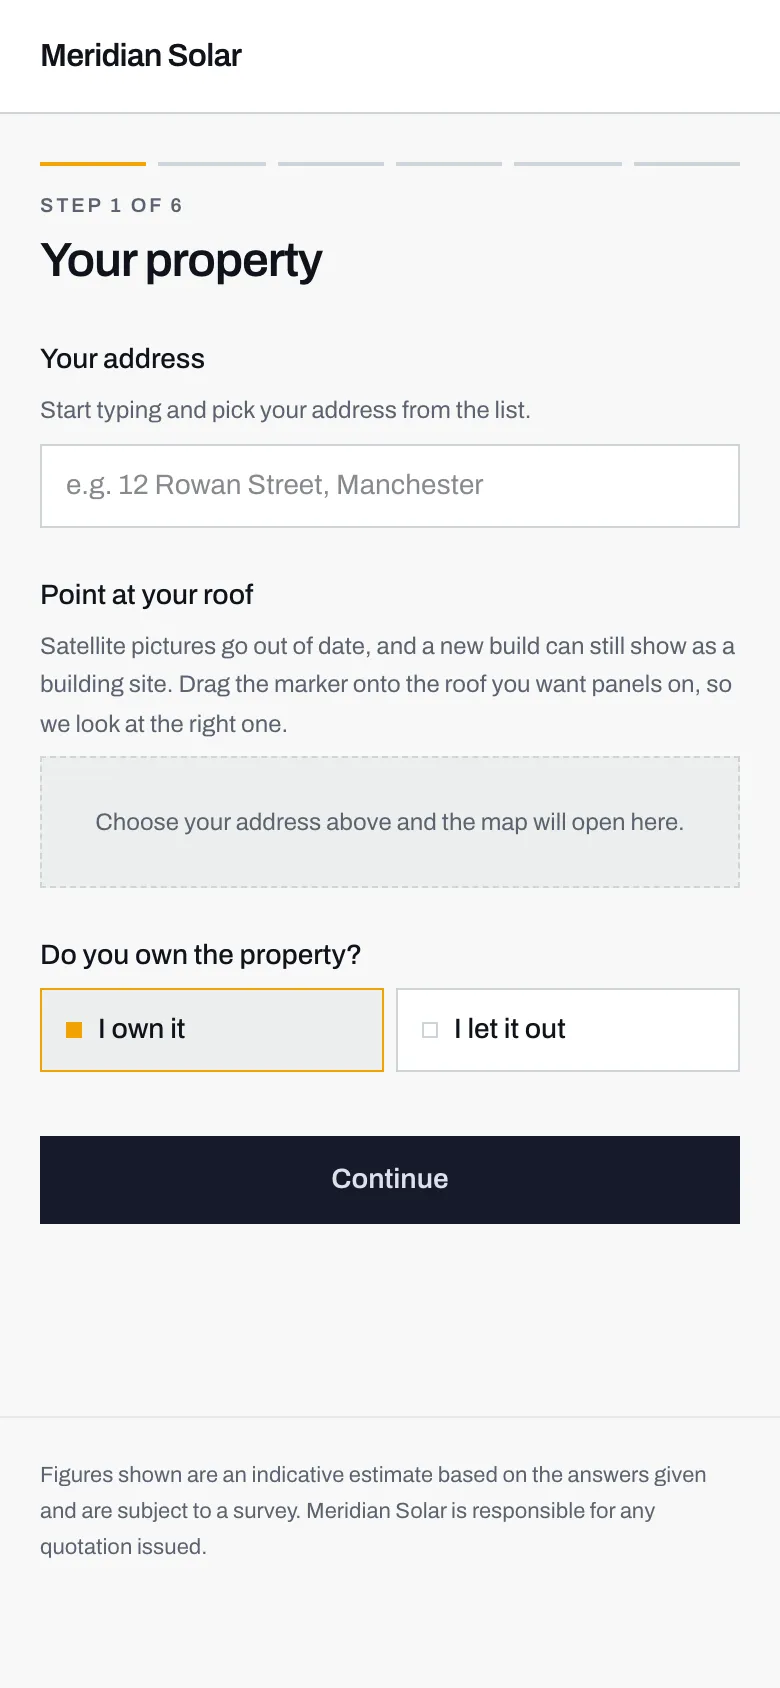
- Start typing and pick your address from the list that appears.
- The map is greyed out until you have chosen an address. It opens here once you have.
- Whether you own the property or let it out. Either answer is fine.
Your address
Section titled “Your address”Type the first part of your address and pick yours from the list. It is worth choosing from the list rather than typing the whole thing out, because the chosen address comes with a precise location attached, which is what opens the map underneath at the right place.
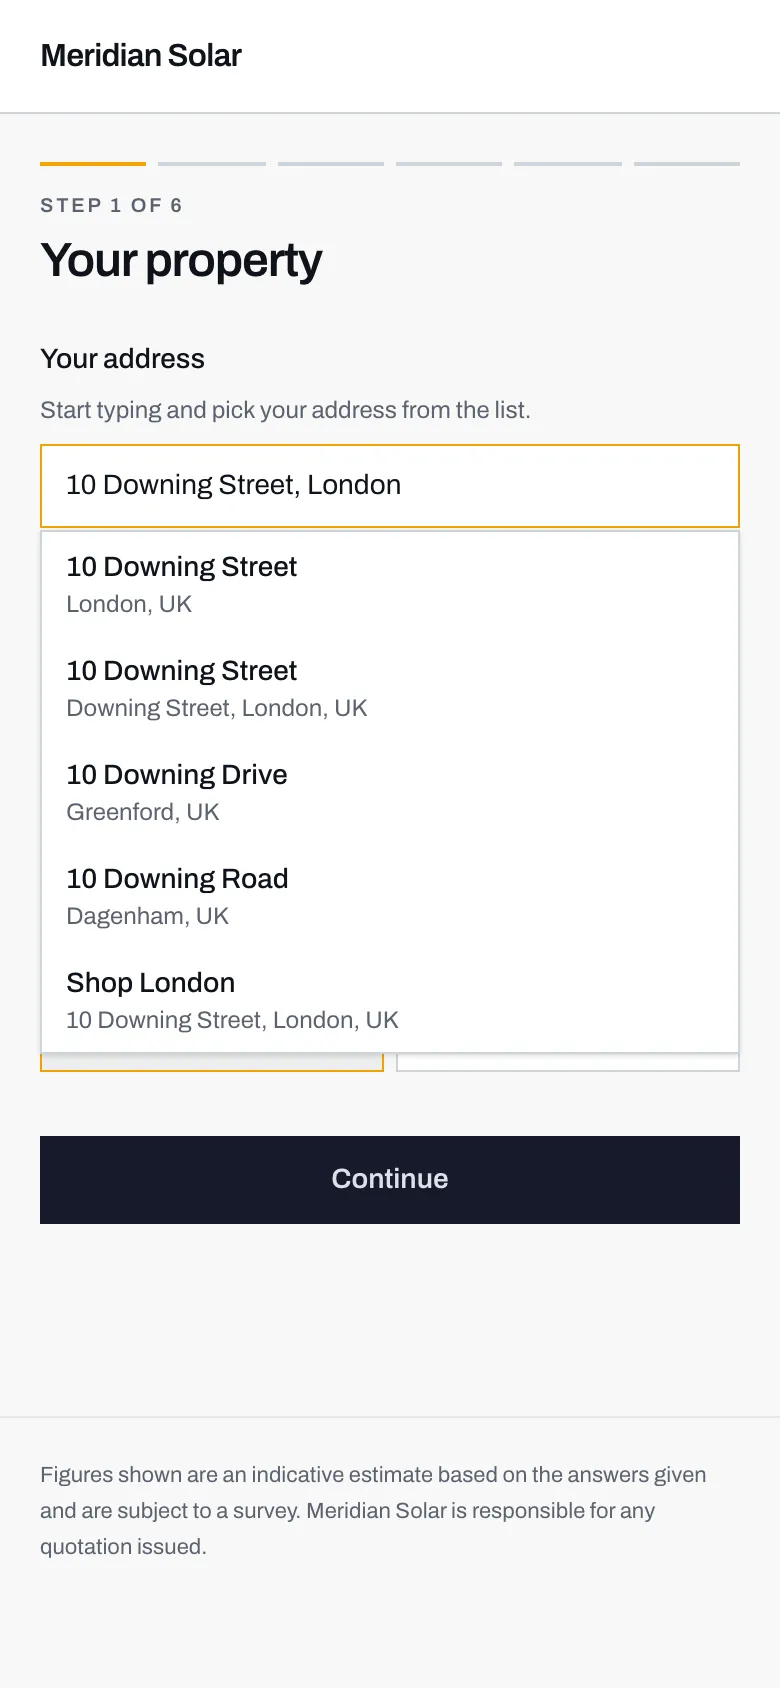
- You only need enough for your address to appear. House number and street is usually plenty.
- Tap the one that is yours. Picking from this list is what lets the map find your roof.
If your installer has not set up address lookup, the box says so and asks you to type your address as you would write it. That works perfectly well. You lose the map, and the installer confirms the roof on the phone instead.
Point at your roof
Section titled “Point at your roof”Once your address is in, a satellite picture of it opens with a marker on it. Drag the marker onto the roof you want the panels on.
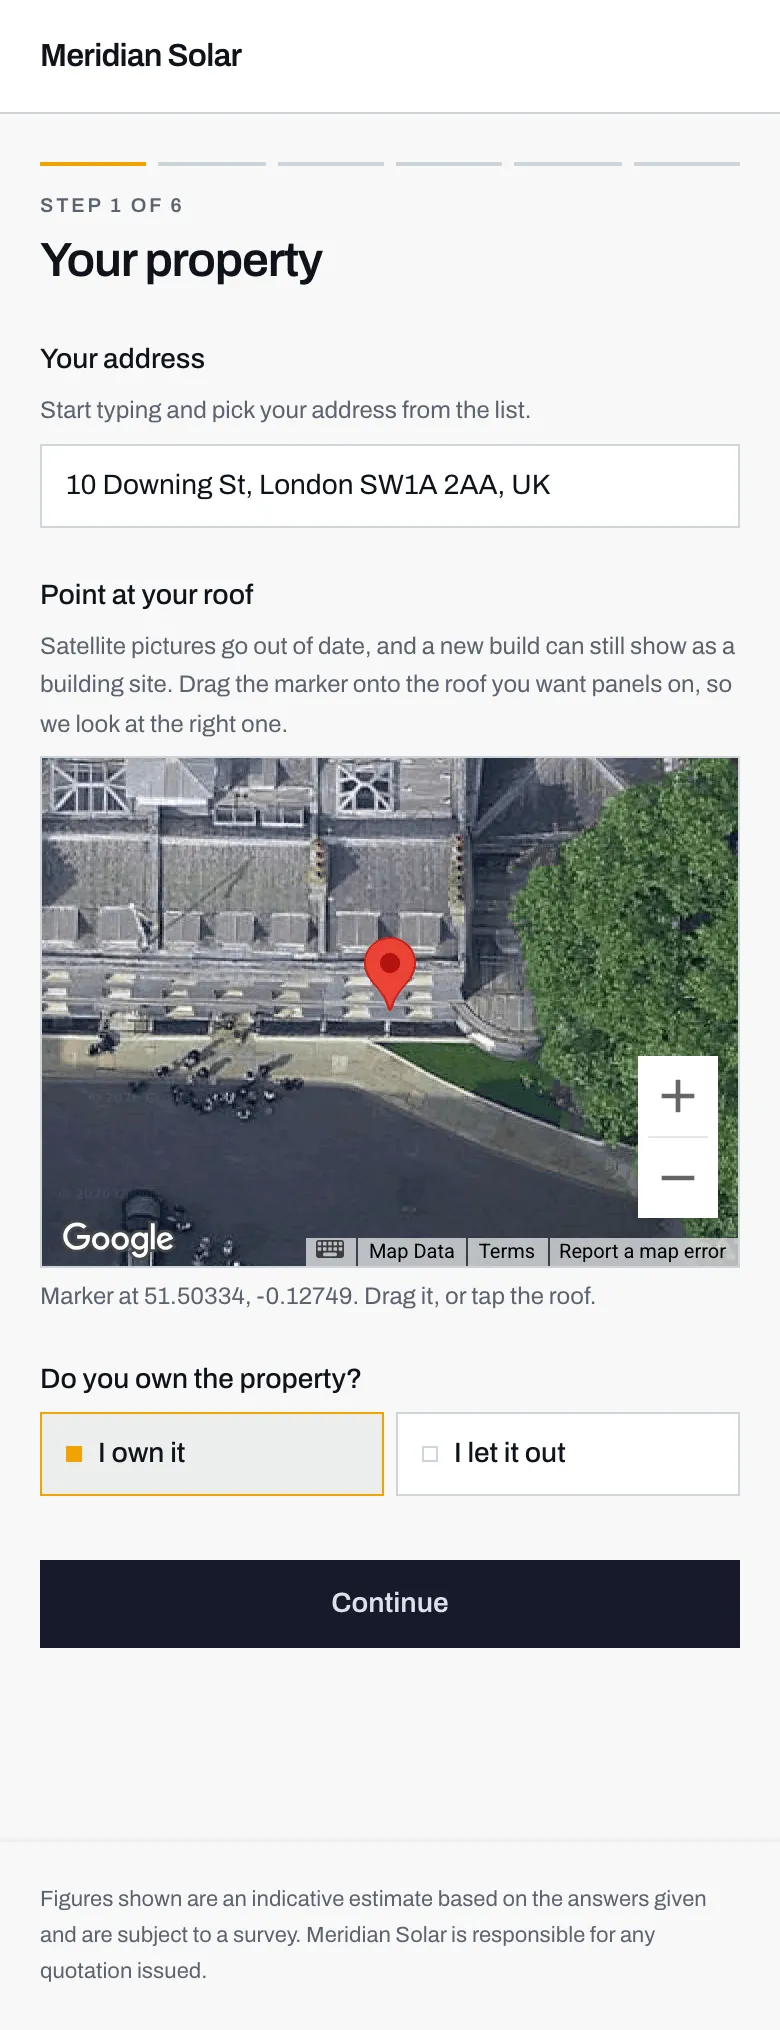
- The address you picked, filled in.
- Drag this marker, or tap the roof, until it sits on the roof you actually mean.
- The exact position is saved with your enquiry, so the installer can look at the same picture you did.
- Ownership. A landlord is flagged to the installer, never turned away.
Why this step exists
Section titled “Why this step exists”An address is not a roof. Two things go wrong without the marker:
- Satellite pictures go out of date. A new build can still show as a building site, or a bare plot, months after you moved in.
- An address can cover more than one building. A flat above a shop, a house with a large detached garage, a bungalow behind another house. A postcode does not say which roof you had in mind.
Moving the marker takes two seconds and means the installer opens your enquiry looking at the right roof. It saves the phone call that starts “sorry, which building is yours?”
Do you own the property?
Section titled “Do you own the property?”Two buttons: I own it or I let it out.
Answer honestly. Letting the property out does not stop you getting an estimate and does not disqualify you. It is passed on to the installer as useful context, because a landlord’s job involves a tenant, different paperwork and often different timing.
- Check the marker is on the right roof.
- Press Continue.
Next: step 2, your roof.